Installation
Shape Storm works out of the box - import, open a scene, and hit play. This guide walks you through the setup process.
Prerequisites
- Unity Version: 2021.3 LTS or newer recommended
- Platform: Windows, macOS, or Linux
- Build Targets: Standalone (Windows/Mac/Linux) and WebGL supported
Installation Steps
Step 1: Import the Package
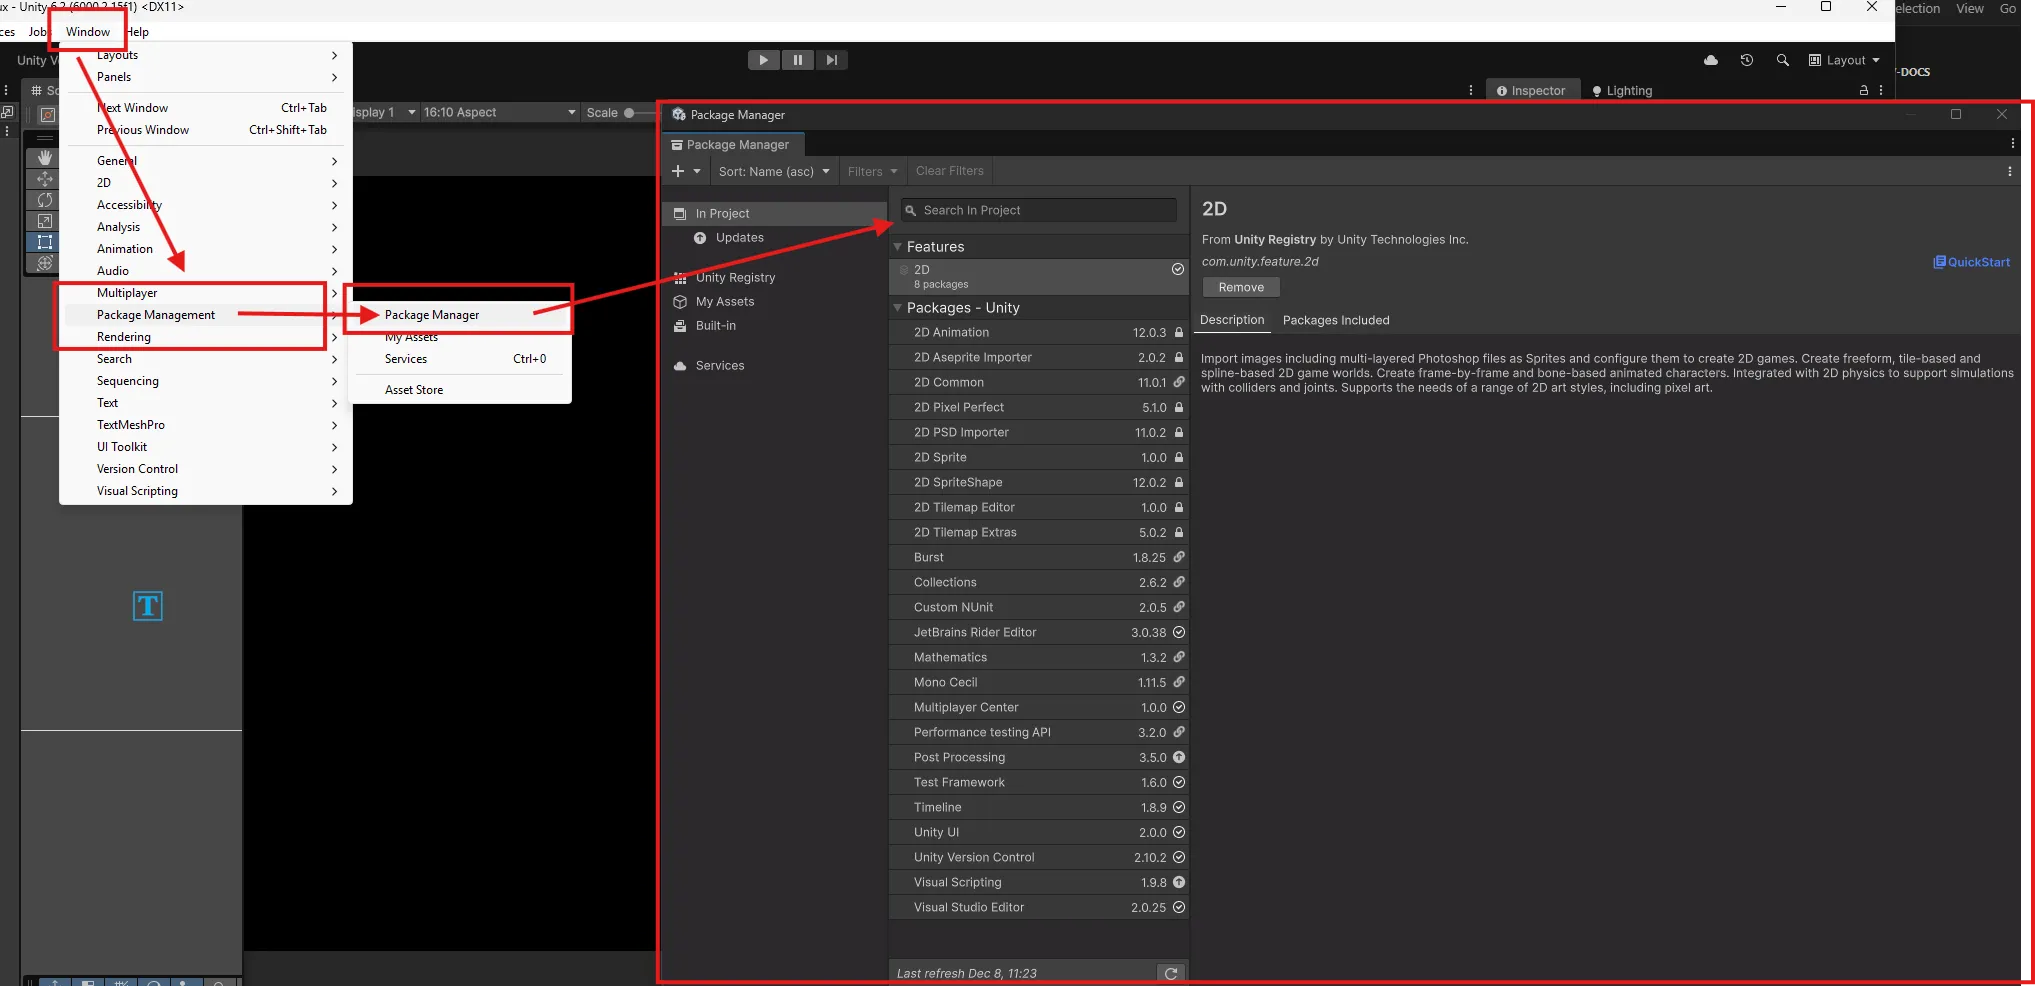
Import Shape Storm through Unity’s Package Manager:
- Open your Unity project
- Navigate to
Window > Package Manager - Click on
My Assets - Search for the
Shape Stormpackage - Click on
Import to projectto add the project files
Step 2: Locate the Scenes
After import, find the Shape Storm scenes in your project:
ShapeStorm/├── Audio/ # Music tracks and sound effects├── Fonts/ # Typography assets├── Post Processing/ # Visual effects and post-processing profiles├── RetroDev/ # Random utility package for RNG├── Scenes/ # Game scenes (Menu, Loading, Game)├── Scripts/ # All game logic and behavior scripts└── Sprites/ # Visual assets and sprite sheetsStep 3: Add Scenes to Build Settings
For the game to function properly, all three scenes must be in your build settings:
- Open
File > Build Settings - Drag these scenes into the “Scenes In Build” list in this order:
Menu.unity(Index 0)Loading.unity(Index 1)Game.unity(Index 2)

Step 4: Open the Menu Scene
- In the Project window, navigate to
Assets/Scenes - Double-click
Menu.unityto open it
Step 5: Hit Play
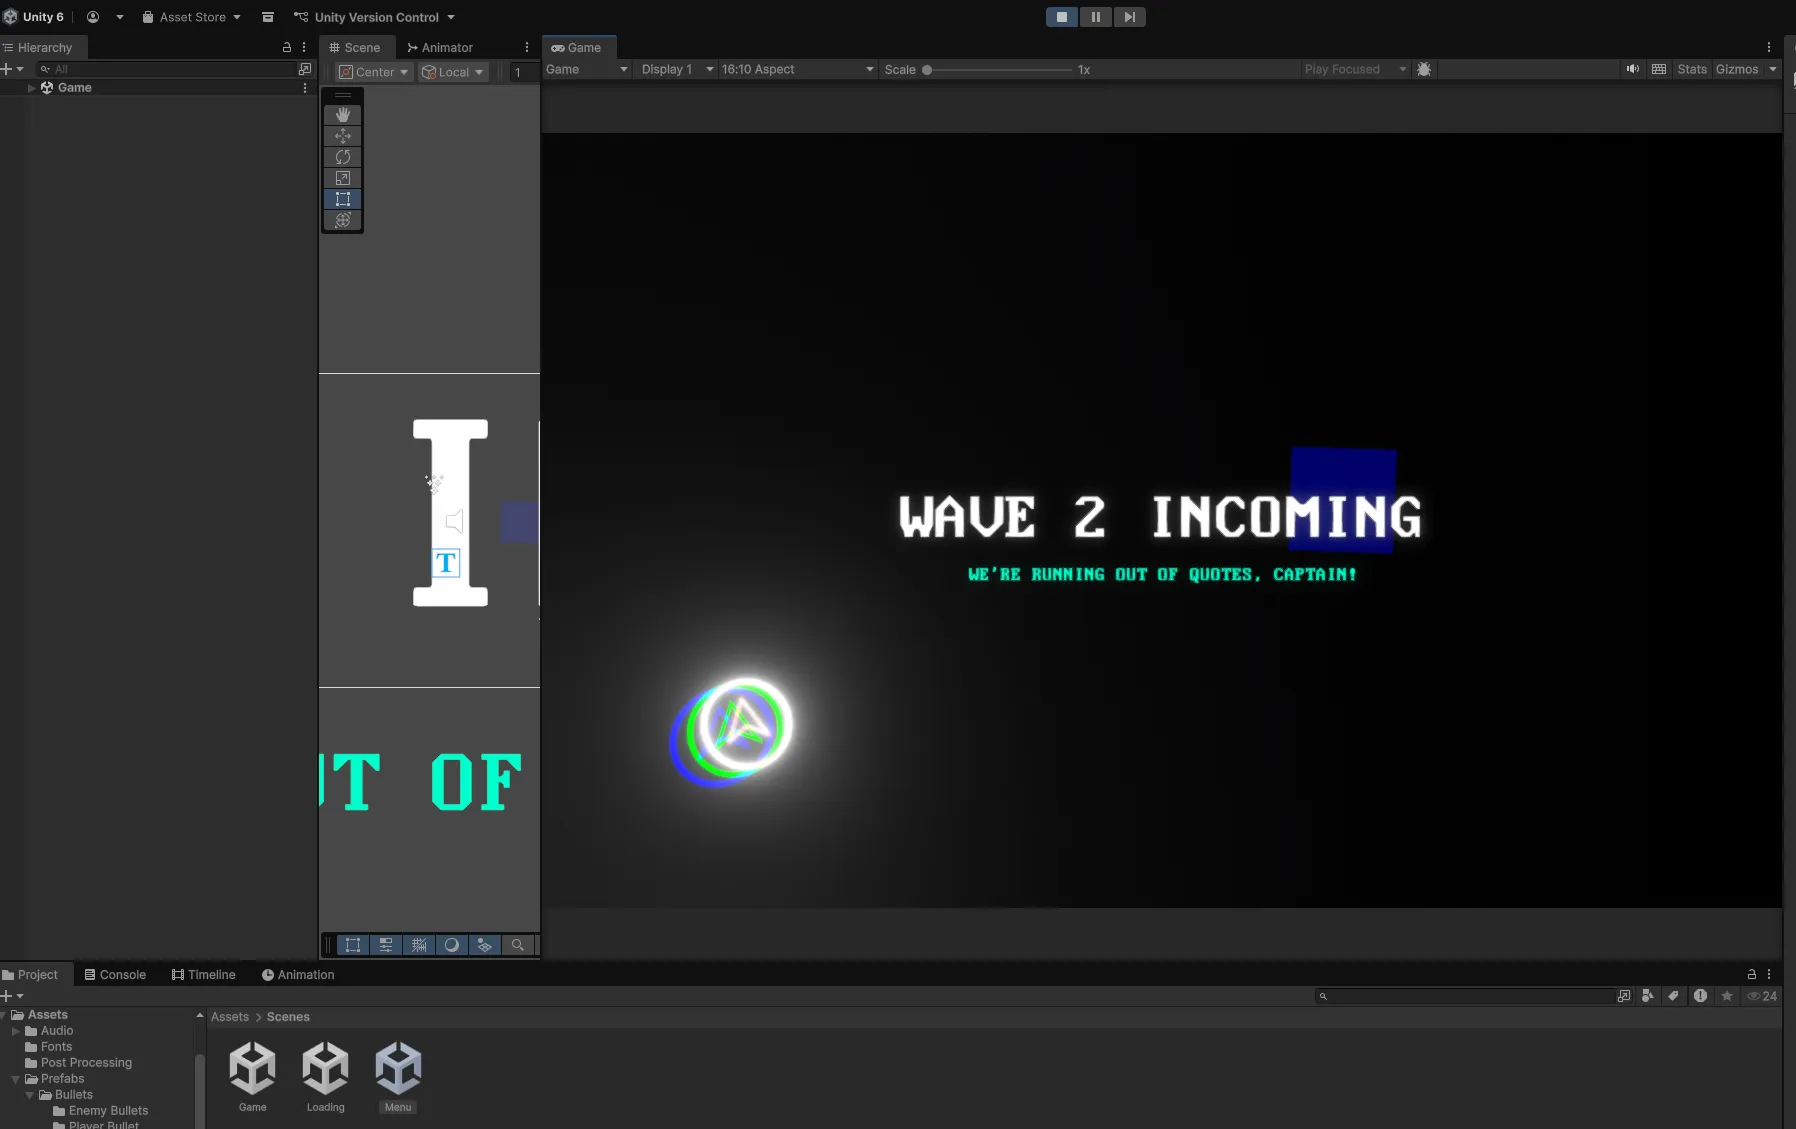
Click the Play button in the Unity editor. You should see:
- Splash screens (if enabled)
- Main menu with the Shape Storm logo and background
- Click “Start” to enter shape selection
- Choose a ship shape
- Loading screen with randomized hints
- Gameplay with your selected ship
Platform-Specific Notes
WebGL Builds
- Background videos require URLs instead of video clips
- Set video URLs in the
MainMenucomponent’s “WebGL Video URL” field - Test in a web server environment, not by opening the HTML file directly
Standalone Builds
- All features work without modification
- Background videos use
VideoClipassets directly - Controllers automatically detected and supported
Troubleshooting
Scene Transitions Don’t Work
- Verify all three scenes are in Build Settings
- Check scene order: Menu (0), Loading (1), Game (2)
- Ensure scene names match exactly
No Audio Playing
- Check Audio Listener is present in each scene’s main camera
- Verify audio clips are assigned in the AudioManager
- Check volume sliders in the settings menu
Player Won’t Move
- Verify Input System settings in
Edit > Project Settings > Input Manager - Check if the Controls component has key bindings assigned
- For controller: ensure controller is detected before starting the game
Missing References in Inspector
- This usually means prefabs or assets weren’t imported
- Re-import the package
- Check console for specific missing asset errors
Next Steps
Now that Shape Storm is running, you’re ready to customize it:
- Menu & Branding - Customize title, colors, and assets
- Player & Controls - Adjust movement and input
- Combat & Enemies - Configure weapons and AI
Need Help? If you encounter issues not covered here, reach out at [email protected]